How to Use A Figure 8 Cleat
Go To: Sailing - Learn To Sail
Posted on 14 January 2009 18:14
The best way to secure a halyard without a jammer is to use a figure 8 cleat.
Figure 8 cleats are usually located on the mast, or the mast step. First start by hoisting the sail to its full height, and keeping tension on the halyard. Take it down to the cleat, at all times keeping tension (as in Photo 1). Take it round the bottom of the cleat first on the nearest side (Photo 2), then up and round creating a regular loop first.
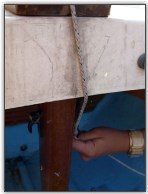
Photo 1, Bring the halyard down under tension
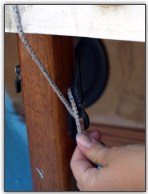
Photo 2, Underneath, up and around
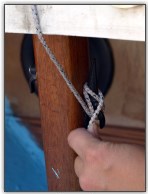
Photo 3, Make a figure 8 over the cleat
Next, take the rope around in a figure 8 style, up from the bottom across sideways to the opposite side on the top, then back down again to the opposite side on the bottom (Photo 3). Next, take another simple loop around which effectively locks the line (Photo 4).
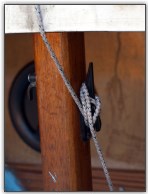
Photo 4, Around again with another loop
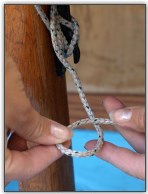
Photo 5, Make a loop in the rope
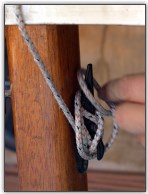
Photo 6, Flip the loop over backwards
Then, make a loop in the rope (Photo 5) which should be easy now the cleat is keeping the tension, and flick this locking loop over the top of the figure 8 cleat (Photo 6). Effectively, you are putting a hitch over the top, with the rope exiting underneath itself, which locks the rope and stops it coming undone (Photo 7), although it is still easy to undo in an emergency.
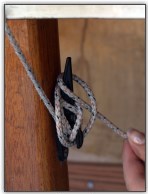
Photo 7, The loop locks itself
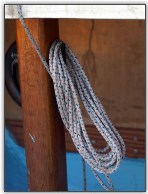
Photo 8, Neatly coil the rope
Finally, coil the loose end of the halyard up, and if you don't have halyard bags, drop the end over the cleat if you can to hold the coils (Photo 8). Do not put any knots in this rope to secure the coil, as this will be difficult to undo quickly in an emergency.