Optimist Rigging Guide
Go To: Sailing - Rigging Guides
Posted on 25 October 2009 17:14
The optimist is sailed by over 160,000 sailors in over 100 countries, and is the only internationally endorsed dinghy for juniors, and is probably the most popular racing dinghy in the world for juniors.
Originally designed in 1947, the design didn't get standardised until 1960, so before that time there were many variations on the design. The design was converted to one-design in 1995, so all Optimists produced now are all produced to the same specification.
There are several manufacturers, including Laser and Hartley Laminates. You'll find many variations built over the years, from wood, to GRP and foam. Most training centres use the foam boats, whereas racers use wooden ones (as they are lighter) or GRP.
They are excellent for kids to learn to sail in, as they are a centre main boat, and kids can easily transfer into a race rigged Topper or a Laser when they are older and too big to fit in the optimist anymore. Optimists are a gaff rigged boat, so slightly different to the other rigging guides we've done so far, but they are still simple and easy to rig, so let's get started.
What You Need
Hull
Mast + sprite
Boom
Daggerboard
Rudder
Mainsheet (10mm x 5 metre)
Sail
Downhaul (3mm x 0.5 metre)
Kicker (4mm x 1 metre)
Outhaul (4mm x 0.5 metre depending on boom)
Uphaul/Halyard (3mm x 2 metre)
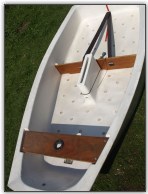
Photo 1, The oppi hull
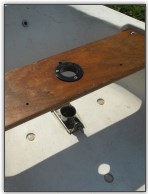
Photo 2, The thwarte
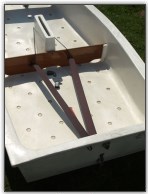
Photo 3, The cockpit
As always, remember if you are buying a boat that it may not always come as class legal - we are kindly borrowing these boats from a sailing school and they may not fall to form on class regulations. If in doubt - get a copy of the Optimist Class Rules and measure for yourself. If in doubt on any items, contact us!
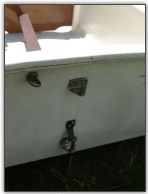
Photo 4, Rudder pintles
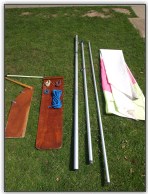
Photo 5, Boat parts
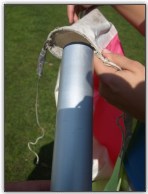
Photo 6, Putting the sail on
Lets Get Started
First of all, as you can see we have laid out all of the parts, to show what they are (Photo 5), and to make sure we have everything we need. We'll start with the sail - take the mast, and feed it up inside the luff sleeve of the sail (Photo 6), all the way to the top. The pulley block half way up the mast should fit outside of the gap in the sleeve as shown (Photo 8). Feed the mast all the way up until it reaches the strap inside the top of the sleeve (Photo 9).
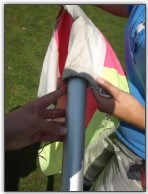
Photo 7, Pull the sail down the mast
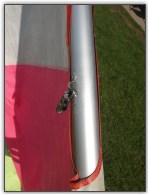
Photo 8, The gap in the mast sleeve
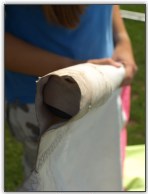
Photo 9, The top of the mast sleeve
Next, attach the boom to the mast with it's large clip fitting (Photo 10). Tie the sail down to the boom with the downhaul (Photo 11) - the one on this boat is just a length of string, which is tied around the boom with a reef or granny knot. Different boats will have different arrangements, and a racing oppi would have an adjustable downhaul. This is just a training boat however!
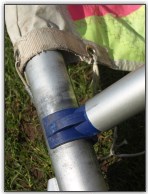
Photo 10, Fix the gooseneck
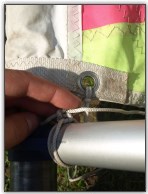
Photo 11, Attach the downhaul
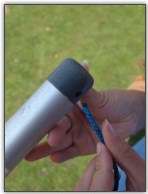
Photo 12, Attach the outhaul
To attach the outhaul on this boat, first we feed the line through the hole in the end of the boom (Photo 12). Secure this line with a bowline, or any other suitable knot (Photo 13). Feed the working end through the clew in the back bottom corner of the sail (Photo 14), then back through the loop of the bowline, then secure it with a round turn and two half hitches (Photo 15). Again in a racing oppi, this would be adjustable, but as this is a training boat that kids learn in, you need to keep it simple!
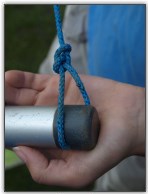
Photo 13, Attach the outhaul
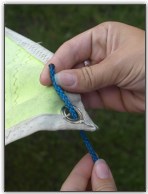
Photo 14, Attach the outhaul
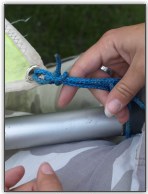
Photo 15, Attach the outhaul
Next, we need to attach the rest of the rig (the sprite). Attach it to the loose top corner of the sail, as shown in Photo 16, then pass the outhaul (yellow and white rope, Photo 17) around the pulley block on the mast, and attach the end of the uphaul to the other end of the sprite (Photo 18). Pull on the uphaul to raise the sprite, and take it through the jammer block on the front of the mast (Photo 19), and jam it off.
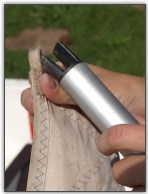
Photo 16, Attach the sail to the sprit
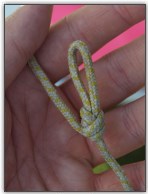
Photo 17, Attach the uphaul
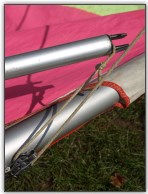
Photo 18, Pull up the sprit
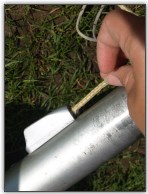
Photo 19, Cleat off the uphaul
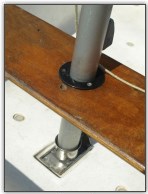
Photo 20, Raise and step the mast
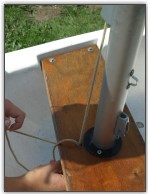
Photo 21, Tie on the uphaul
Next, raise the mast - pretty simple on this boat, lift it up and drop it through the hole in the wooden beam/deck, making sure it drops into the cup socket below (Photo 20), or it could damage the deck. For security, now take the uphaul line, pass it through the hole in the wood in front of the mast (Photo 21), take it around a few times, and tie it off (Photo 22). This will stop the mast coming out if the boat capsizes.
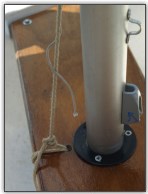
Photo 22, Tie on the uphaul
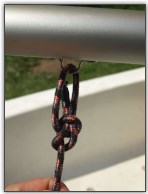
Photo 23, Attach the kicking strap
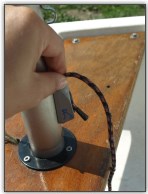
Photo 24, Fix the kicking strap
Next, attach the kicker. Start it off with a bowline from the fairlead on the underside of the boom near the front end (Photo 23), then pass it through the cleat on the back of the mast (Photo 24). This is only a single ratio kicker - you can get multi-purchase ones. Again as this is a training boat, it's kept simple - the kicker line is then fed around the wooden crossbeam and tied off, again as a security measure (Photo 25).
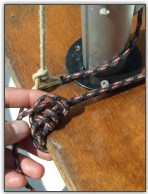
Photo 25, Secure the kicking strap
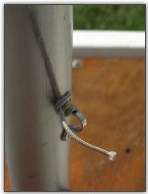
Photo 26, The sail downhaul
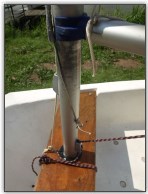
Photo 27, The complete mast setup
The downhaul for the sail is next - on this sail, it's just a line from the bottom of the sail luff pocket, then tied to the fairlead on the mast as shown (Photo 26). The mast setup is now complete (Photo 27)
The last line to attach is the mainsheet. There are different arrangements of mainsheets, including multi-purchase systems. This one is started by tying a stopper or figure eight knot in the end of the line, and passing it into the fairlead on the boom which has the block attached (Photo 28). Next, it's fed into the foremost block in the cockpit, from front to back (Photo 29).
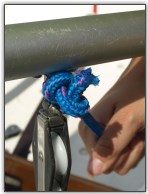
Photo 28, Attach the mainsheet
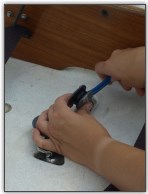
Photo 29, Feed the mainsheet through
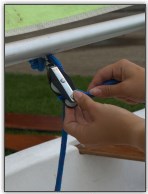
Photo 30, Feed the mainsheet through
Next, it's fed back up to the block on the boom, and passed from front to back (Photo 30). We used the lower pulley of the block and haven't used the top one, as we said, it could be rigged different ways. Next, the line is fed down to the backmost block in the cockpit, going from front to back again (Photo 31). Push the sail out as far as it should go, and tie a stopper knot in the line to stop the sail going out too far (Photo 32).
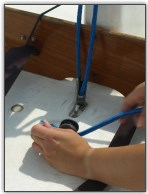
Photo 31, Feed the mainsheet through
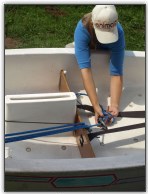
Photo 32, Feed the mainsheet through
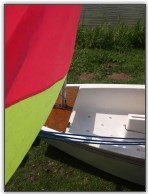
Photo 33, The completed mainsheet
Finally, attach the rudder by dropping it on to it's pintles (Photo 34), as long as it's not a fixed rudder like ours - we struggled here as it's a non-swinging rudder and we had the boat on the ground. Then, drop in the daggerboard, and pull the elastic loop around it to sit in front - this will help hold the daggerboard in place depending how high you adjust it (Photo 35).
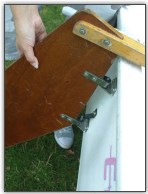
Photo 34, Attach the rudder
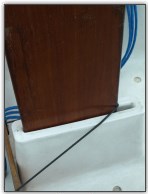
Photo 35, Insert the daggerboard
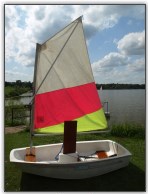
Photo 36, The completed boat
The boat setup is now complete (Photo 36). You're ready to go - now get learning to sail!
Packing Up
On a sidenote, an oppi sail is not so large that you need to completely dismantle it to put it away or take it home. The easy way to store an oppi sail and rig so it's quicker to rig next time, is to lay it out as shown on the floor (Photo 37), with the sail, mast and boom still together, but the sprite taken off. Next, move the boom up alongside the mast, and fold the sail neatly (Photo 38).
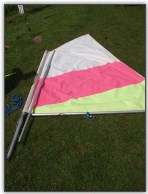
Photo 37, Layout the sail, sprit and boom
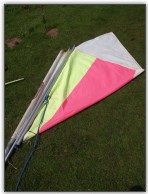
Photo 38, Fold in the sail
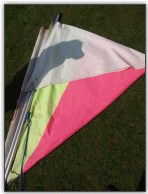
Photo 39, Fold in the sail
Pull the top corner of the sail down (Photo 39), and start rolling the spars inside the sail (Photo 40). When it's all rolled up, use the mainsheet to tie up the bundle neatly (Photos 41 and 42). This will now easily fit in most cars for the trip home.
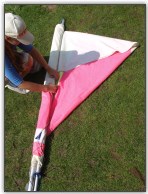
Photo 40, Roll the sail
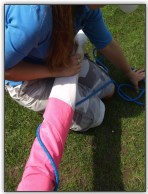
Photo 41, Wrap the mainsheet around
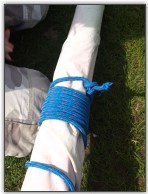
Photo 42, The completed spar and sail package